
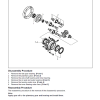
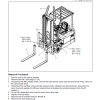
The Toyota 7FBE10, 7FBE13, 7FBE15, 7FBE18 and 7FBE20 repair manual is listed at 513 pages. Its electric-forklift contents include battery, controller, motor and chassis systems, with optional charger and SAS sections. The sample gives servicing and reassembly instructions.
Document Details
Toyota 7FBE10, 7FBE13, 7FBE15, 7FBE18, 7FBE20 Forklift Repair Manual
Format: PDF
Language: English
Model Covered: 7FBE10, 7FBE13, 7FBE15, 7FBE18, 7FBE20
TOYOTA 7FBE10, 7FBE13, 7FBE15, 7FBE18, 7FBE20 Forklift Repair Manual – 513 Pages
Document Scope
This documentation covers service of the chassis, electrical systems, motors and material-handling system of the Toyota electric-powered forklifts in the 7FBE10 to 20 series.
This repair manual contains the latest information available. Please under-stand that disagreement can take place between the descriptions in the manual and actual vehicles due to change in design and specifications. Any change or modifications thereafter will be informed by Toyota Industrial Equipment Parts & Service News.
Source Heading
Table of content of the Repair Service Manual
Contents Listed
GENERAL
BATTERY
CHARGER (OPT)
CONTROLLER
MULTI-DISPLAY FUNCTIONS
TROUBLESHOOTING
MOTOR
DRIVE UNIT & FRONT AXLE
REAR AXLE
STEERING
BRAKE
BODY & FRAME
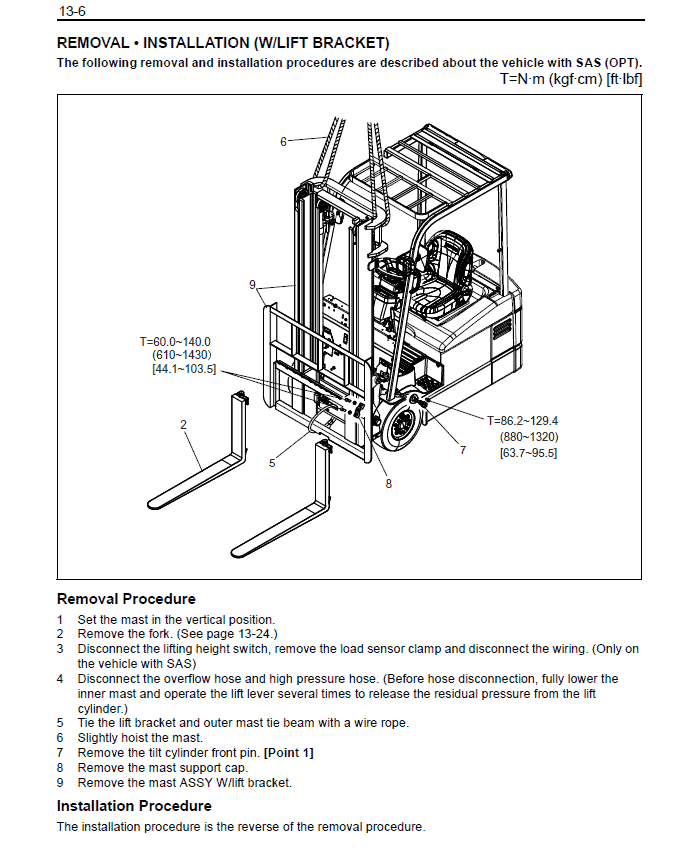
MATERIAL HANDLING SYSTEM
MAST
CYLINDER
OIL PUMP
OIL CONTROL VALVE
SAS FUNCTIONS (OPT)
APPENDIX
Procedure Excerpt
GENERAL INSTRUCTIONS
1. Skillful operation
(1) Prepare the tools, necessary measuring instruments (circuit tester, megohmmeter, oil pressure gauge, etc.) and SSTs before starting operation.
(2) Check the cable color and wiring state before disconnecting any wiring.
(3) When overhauling functional parts, complicated sections or related mechanisms, arrange the parts neatly to prevent confusion.
(4) When disassembling and inspecting a precision part such as the control valve, use clean tools and operate in a clean location.
(5) Follow the specified procedures for disassembly, inspection and reassembly.
(6) Always replace gaskets, packing, O-rings, self-locking nuts and cotter pins with new ones each time they are disassembled.
(7) Use genuine Toyota parts for replacement.
(8) Use specified bolts and nuts and observe the specified tightening torque when reassembling.
(Tighten to the medium value of the specified tightening torque range.) If no tightening torque is specified, use the value given in the “standard tightening torque table”.
The charger and SAS contents are marked optional. The sample retains the specified-bolt and torque-table instructions; it does not supply a universal tightening value.
Match the stated model and document option before using the manual. Procedure samples retain their original conditions and component references and should be read within the full manual section. Tools and equipment mentioned in the documentation are not supplied with it.


Reviews
There are no reviews yet.