

For Komatsu PC88MR-6 Excavator, this reference brings together the listed repair manual material. Start with 10. STRUCTURE AND FUNCTION and follow the relevant document section for the task.
What’s Covered Inside
10. STRUCTURE AND FUNCTION……………………………………………………………………. 10-1
20. TESTING AND ADJUSTING ……………………………………………………………………….. 20-1
30. DISASSEMBLY AND ASSEMBLY ………………………………………………………………. 30-1
90. OTHER………………………………………………………………………………………………………. 90-1
GENERAL
This section lists the general machine dimensions, performance specifications, component weights, and fuel, coolant and lubricant specification charts.
STRUCTURE, FUNCTION AND MAINTENANCE STANDARD
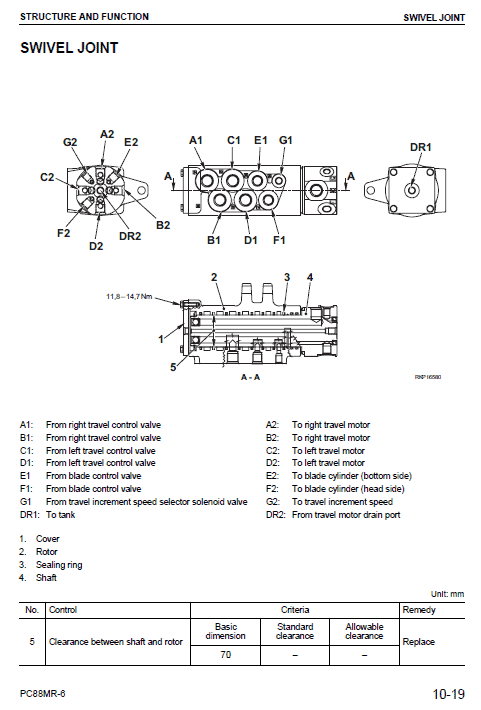
This section explains the structure and function of each component. It serves not only to give an understanding of the structure, but also serves as reference material for troubleshooting.
TESTING, ADJUSTING AND TROUBLESHOOTING
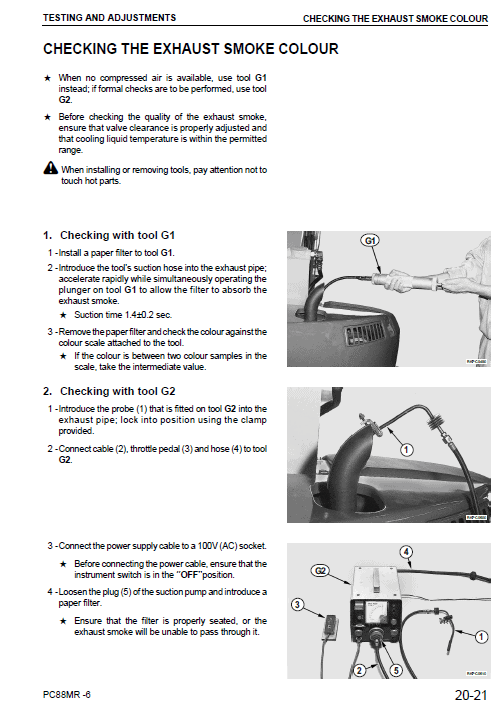
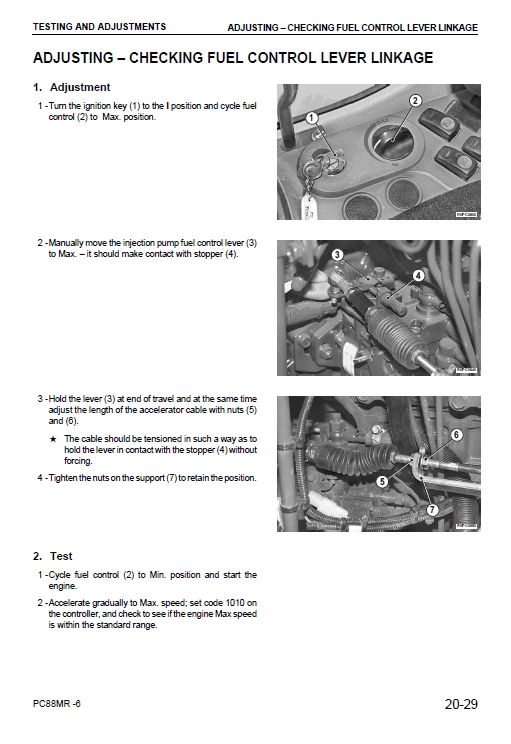
This section explains checks to be made before and after performing repairs, as well as adjustments to be made at completion of the checks and repairs. Troubleshooting charts correlating Problems to Causes are also mention in this section.
DISASSEMBLY AND ASSEMBLY KOMATSU Excavator
This section explains the order to be followed when removing, installing, disassembling or assembling each component, as well as precautions to be taken for these operations.
ADJUSTING PC VALVE
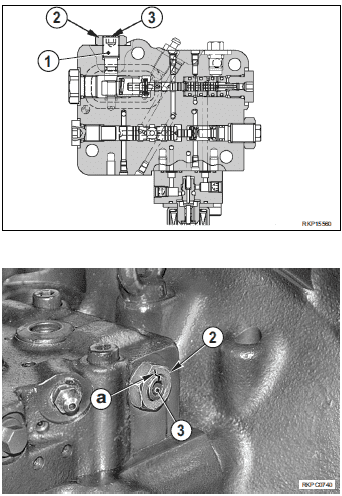
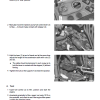
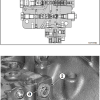
a If the engine speed drops when a pressure or load increase is demanded, or if the attachment speed is low when the engine speed, delivery pressure, and LS differential pressure is normal, then the PC valve (1) needs adjusting. To adjust PC valve, use the following procedure.
a Before loosening nut (2), mark the positions (a) between the adjusting nut and screw (3).
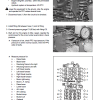
1 -Loosen the nut (2) and adjust the pump torque absorption with screw (3).
a The PC valve is an eccentric design valve, so the value of torque increase will never be known, whatever direction the screw is turned (3). On account of that, turn the screw (3) while at the same time checking the procedure on the engine speed monitor.
2 -Once the adjustment is completed, retain the position of the screw (3) and tighten the nut (2).
Use publication WEBM007200 with the PC88MR-6 model details to select the appropriate documentation. Refer to 10. STRUCTURE AND FUNCTION within its stated document and equipment scope.


Reviews
There are no reviews yet.